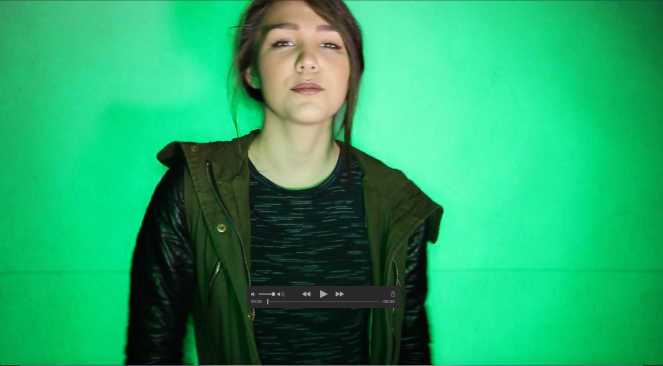
For Andy’s lesson, we were tasked with creating a short clip from this green screen video that I’ve used before. First we had to take it into Premiere and cut it down to just a couple of seconds and export it. Once this was done, we then imported the frames into photoshop in order to begin editing the frames themselves. This was the easiest part of the process as we only had to simply click and drag files and cut them down.
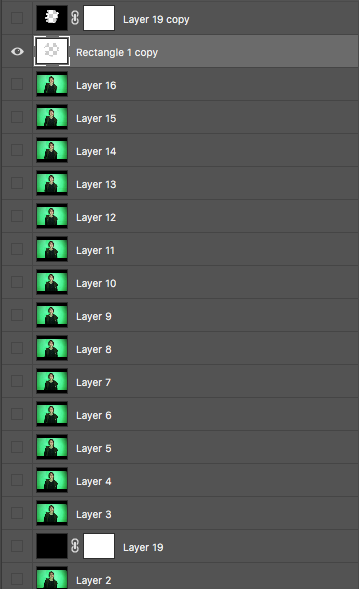
This is mostly what I got when I added the video into photoshop, as you can see, for every frame I got a new layer, meaning I ended up with 16 frames. The shapes used were added later and will be looked into more detail later. This amount of layer really made everything confusing just because when I switched frames, I would then have to go find the exact layer that corresponded to. Thankfully, the numbers on the layers were the same as the frames and so made it much easier to piece them together.

Below are how I incorporated the shapes into the video. What I did was I took the black and white shapes and put them on opposite frames, making it look like a stope light. Then I used the eraser to cut a hole it leaving the person in the middle as the focus of this video. On every white frame as well I cut out the eyes and made them totally white adding to the strobe. This lesson was interesting and actually beneficial as were able to learn about frame by frame editing, which makes motion tracking a lot more precise, the downside being that it takes so much longer that motion tracking.


